OUR SERVICES
Occupational Therapy involves skilled assessment, planning and intervention to help individuals achieve independence in all aspects of their lives. It is through an individual’s participation and performance in activities and roles that are of value to them that their health, well being and sense of purpose and meaning are shaped.
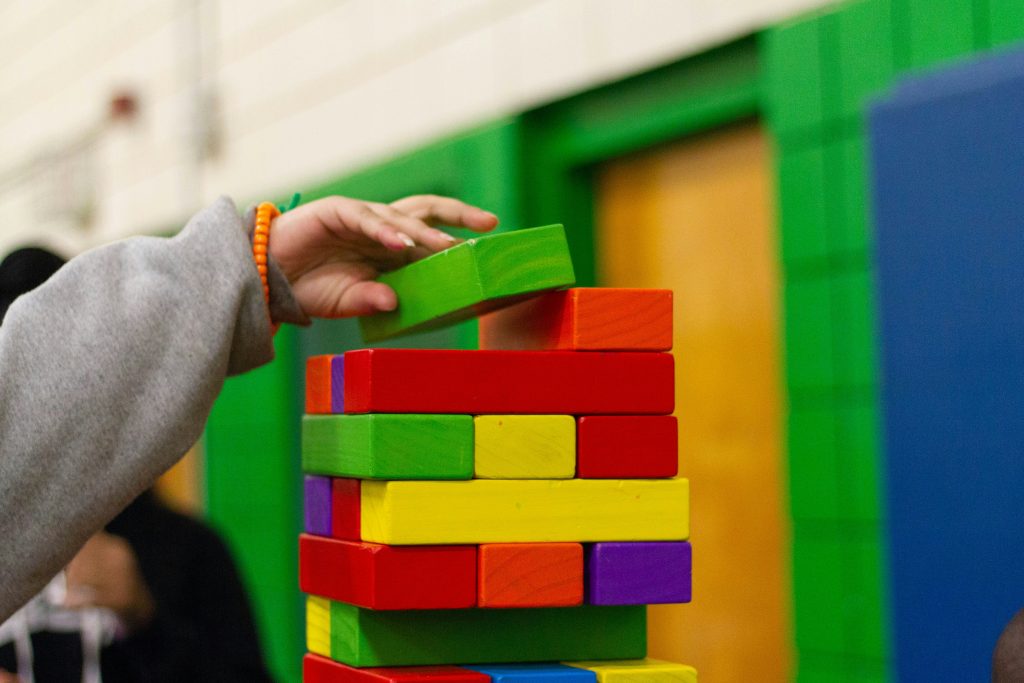
We use tailored activities to improve the child’s ability to function in daily life, particularly with motor, perceptual and daily living skills. Our therapy programs assist children to participate in preschool, school and home activities enhancing their quality of life.
Our occupational therapists work in collaboration with key parties, including family, teacher and child, to achieve the desired goals.
Services may be provided to children and adolescents with a range of conditions which may include:
- developmental delay
- learning difficulties
- attention difficulties
- mental health difficulties
- physical disabilities
- intellectual disabilities
- insufficient social and/or play experiences
- Fragile X Syndrome
- Cerebral Palsy
- Down Syndrome
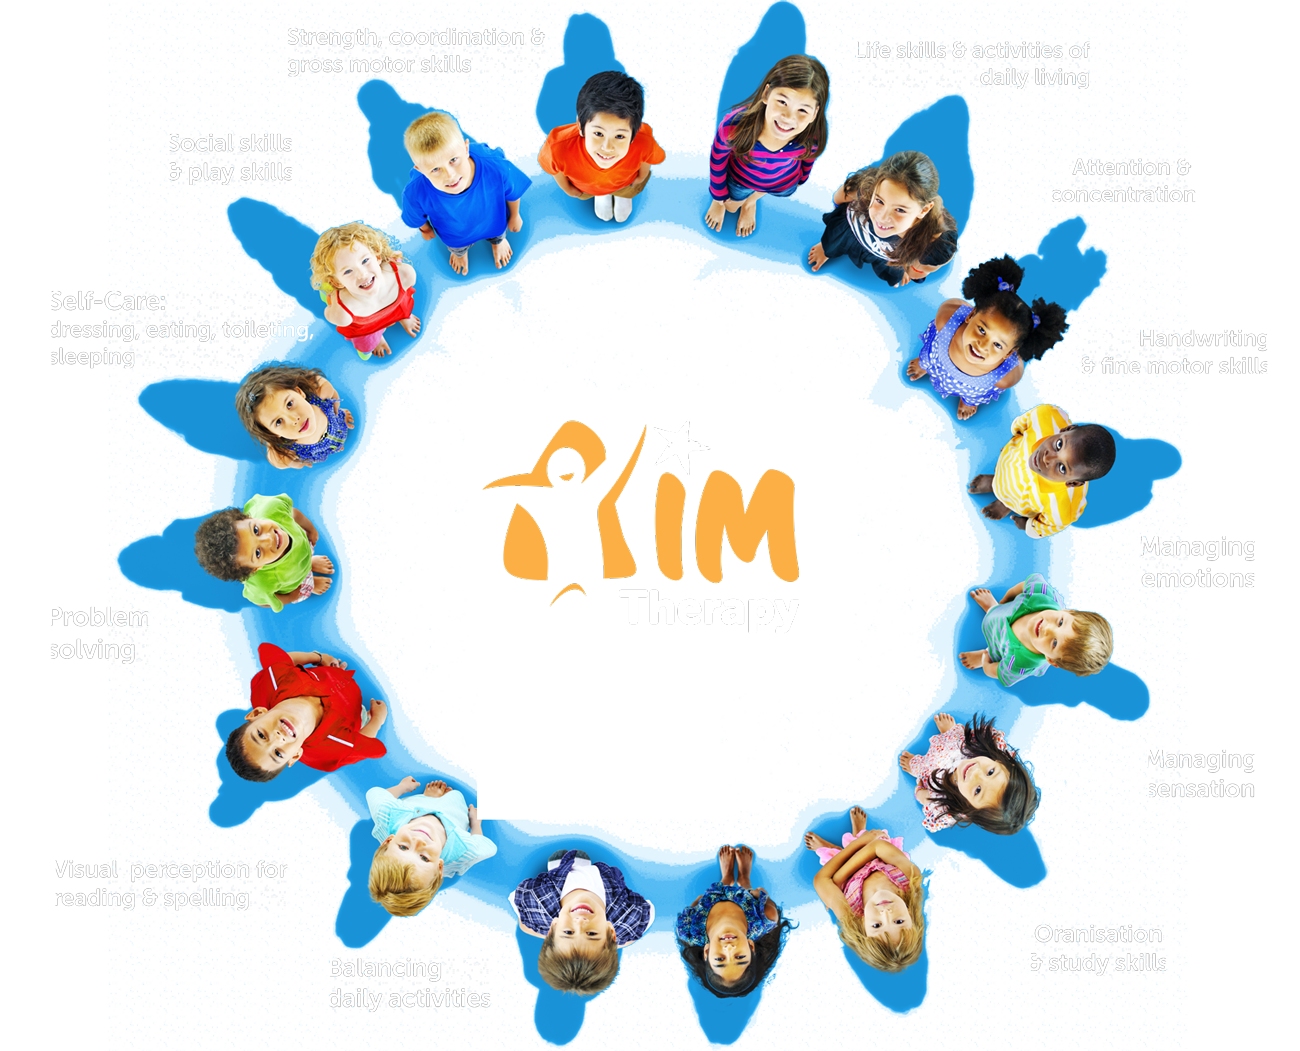
Key Developmental Skills for OT Referral
Developmental areas and skills that may warrant a referral to OT for a child include:
- Fine motor – puzzles, drawing, cutting, writing
- Social skills – greetings, taking turns, playing games, winning and losing, developing and maintaining friendships, appropriate body language, starting and maintaining conversations
- Play – pretend play, role play, doll/teddy play
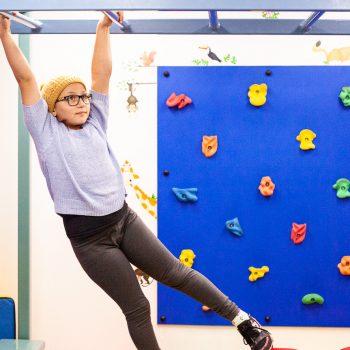
- Gross motor – coordination, balance, ball skills, crossing the midline, postural control, ball skills
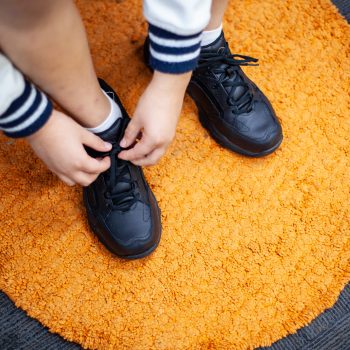
- Self-care – dressing, eating, toileting, bathing, sleeping
- Sensory processing and modulation – responding to sensory stimuli in an appropriate and expected manner
- Attention and concentration – maintaining a calm and alert level of arousal appropriate to the activity and situation
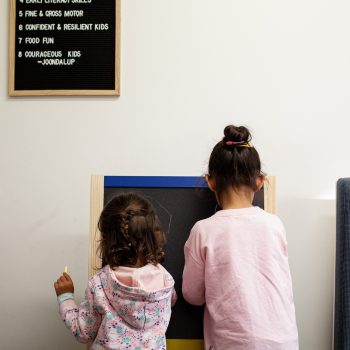
- Developing early concepts e.g. shape, colour, size, number
- Visual perception – making sense of what is seen, letter and number recognition, developing the eye muscles for reading
- Problem solving
- Use of assistive technology
- Managing time and organizational skills – using an organizational system, completing tasks in a timely manner
- Improved or increasing participation in leisure activities
- Managing emotions – stress, anger, sadness, anxiety
Areas of development that an Occupational Therapist can assist adolescents with include:
- Daily life skills – meal preparation, budgeting, chores
- Maintaining a healthy lifestyle
- Personal hygiene and presentation skills
- Problem solving
- Increasing leisure activities
- Managing emotions and time
- Social skills
ENQUIRE NOW


Occupational Therapy Team

Elysia Connor
Joondalup Team Lead

Grace Kokir
Senior Occupational Therapist

Courtney Mawby
Senior Occupational Therapist

Grace Low
Senior Occupational Therapist

Kayla Marcar
Occupational Therapist

Ryan Dooley
Occupational Therapist

Celina Yen
Canning Vale Team Lead

Haleh Wates
Senior Occupational Therapist

Dalton Paull
Occupational Therapist

Hannah McEwan
Occupational Therapist

Kimlai Dang
Occupational Therapist

Shanice Pereira
Occupational Therapist

Ta McGrath
Senior Occupational Therapist & QA Officer

Jess Skinner
Senior Occupational Therapist

Darcie Richards
Occupational Therapist

Katarina Vukmirovic
Occupational Therapist

Molly Grose
Occupational Therapist
Amy George
Senior Occupational Therapist

Charissa Aditijo
Occupational Therapist
Georgia Ebert
Occupational Therapist

Kate Lester
Senior Occupational Therapist

Madison Reed
Occupational Therapist